Pi Camera Module – 5MP
The Pi camera module is a portable light weight camera that supports Raspberry Pi. It communicates with Pi using the MIPI camera serial interface protocol. It is normally used in image processing, machine learning or in surveillance projects. It is commonly used in surveillance drones since the payload of camera is very less. Apart from these modules Pi can also use normal USB webcams that are used along with computer.
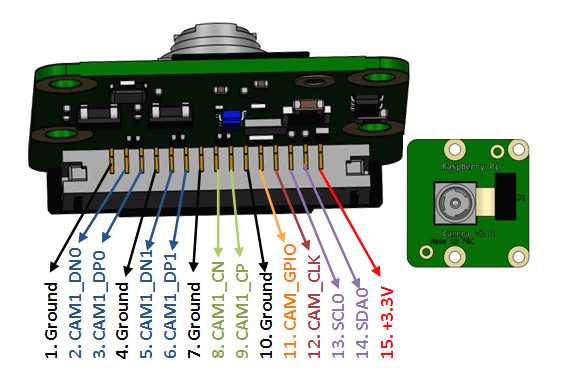
Pin Description
|
Pin Number |
Pin Name |
Description |
|
1 |
Ground |
System Ground |
|
2,3 |
CAM1_DN0, CAM1_DP0 |
MIPI Data Positive and MIPI Data Negative for data lane 0 |
|
4 |
Ground |
System Ground |
|
5,6 |
CAM1_DN1, CAM1_DP1 |
MIPI Data Positive and MIPI Data Negative for data lane 1 |
|
7 |
Ground |
System Ground |
|
8,9 |
CAM1_CN, CAM1_CP |
These pins provide the clock pulses for MIPI data lanes |
|
10 |
Ground |
System Ground |
|
11 |
CAM_GPIO |
GPIO pin used optionally |
|
12 |
CAM_CLK |
Optional clock pin |
|
13,14 |
SCL0, SDA0 |
Used for I2C communication |
|
15 |
+3.3V |
Power pin |
PiCam Features
- 5MP colour camera module without microphone for Raspberry Pi
- Supports both Raspberry Pi Model A and Model B
- MIPI Camera serial interface
- Omnivision 5647 Camera Module
- Resolution: 2592 * 1944
- Supports: 1080p, 720p and 480p
- Light weight and portable (3g only)
Note: Complete Technical Details can be found at the PiCam datasheet given at the end of this page.
Alternatives Camera module for Raspberry Pi
IR Night Vision camera, USB Camera, 8MP MIPI Camera, 5MP Wide angle camera with IR.
How to use Camera module with Pi
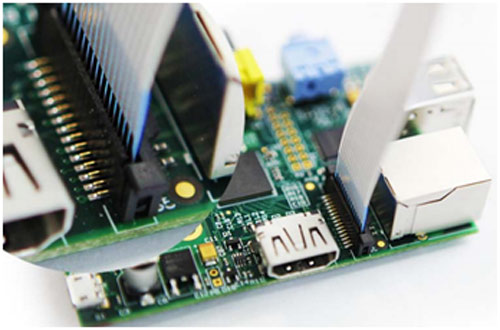
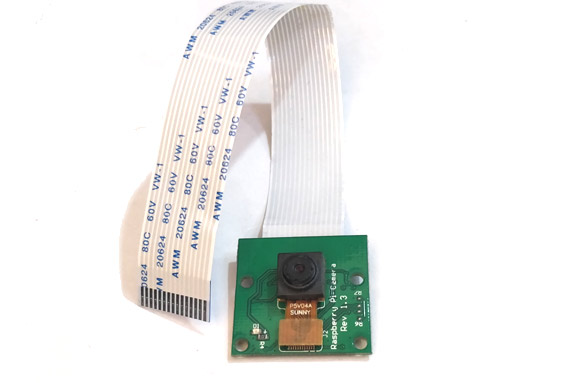
The Pi camera module when purchased comes along with a ribbon cable, this cable has to be connected to the CSI (Camera Serial Interface) port of the Pi. This port can be found near the HDMI port just connect the cable to it as shown below.

After interfacing the hardware, we have to configure the Pi to enable Camera. Use the command “sudo raspi-config” to open the configuration window. Then under interfacing options enable camera. Finally reboot the Pi and your camera module is ready to use. Then, you can make the Pi to take photos or record videos using simple python scripts.
Applications
- Surveillance projects
- Time-lapse video recording
- Image processing
- Machine learning
- Robotics
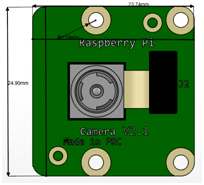
2D-Model (Dimensions)
If you are making a casing for the Pi module these dimensions should help you.


